

Today I am a little beside myself with “glee”. The project I have been working on for quite some time has finally “come together”. I challenged myself to create a nuno felt bra for Art Bra Austin 2015, a fundraiser for BCRC, Breast Cancer Resource Centers here in Central Texas. Their services are free of charge to everyone they serve.

The inspiration kept flowing and resulted in a fairy costume complete with adult sized fairy wings and a no-sew tutu. I shot a little video with my phone to capture it for posterity’s sake. Its a little “shaky”, but I’m just glad to have captured it 🙂 If it is accepted by the judges for the benefit, I will no longer have it. It was truly a labor of love.
In this post, I will share pics from this Art Bra / DIY Fairy Costume in the making, along with links back to the great resources that helped and inspired me. First I will show you more on the nuno felted bra and how it was made.
NUNO FELT ART BRA


The bra was made by creating a nuno felt fabric and then hand stitching it to a new commercial bra in size 40C. This is one of the requested sizes by the organization to fit women who may have had reconstructive surgery after having a mastectomy.

A goal was to have the bra be “wearable”, and for it to be somewhat adjustable to fit women of different sizes. This halter will fit women of various shapes; it ties in the back and the ends wrap back towards the front.

This was the color and texture palette began with, and the bra of course! I started with colors and fibers of merino top from the Living Felt Fairy Hollow Specialty Designer Pack, a silk chiffon fabric that I dyed in complementary colors using Jacquard Acid dyes, mohair locks, teeswater locks, and lustre fibers such as silk tops, silk noil, silk thrower’s waste, silk hankies, and bamboo fibers.
The fabric was laid out first, and then the fibers laid on top. Below are a few detail pics. Notice that fibers such as silk and mohair are anchored down with delicate wisps of merino. Of course, all of my supplies came from www.livingfelt.com and my personal stash.


One edge was intended to be straight and the bottom more “organic” in shape. The fibers were covered with mesh and wet out with olive oil soap and warm water. I hand rubbed most of the time and used my Heart Felt Silks Palm Wash Board part of the time.


I was quite pleased with the color and textures in the finished nuno felt fabric, but uncertain about how to make it “fit”. It did not take long to realize that I was going to have to be very crafty to get it cover the full bra in one piece.
I really took my time, lots of time, lots of thinking and researching and more hand titches than I could guestimate to make this actually fit. Of course I wish I had made it much bigger, but I am so grateful that it worked out afterall!

I first pinned from the top of the cups down.

I stretched and loosely stitched the fabric in place so I knew it would be positioned before working on the cups.


I found my tiniest needle to be my greatest ally in this process. The bra cup fabric is very tightly woven.

Straps removed and fabric stitched down. I did not know how to finish the inside, and an experienced belly dance costume maker in my guild said the felt was soft enough that I could simply trim off any excess and stitch another row and get it all to lay down…so I did. (this pic is not the final-final), but shows just before the trimming.

I wet felted a cord for the halter style tie, and 2 leaves, all are merino wool.
The NO-SEW TUTU
I got the inspiration to make a tutu, and was gratueful to discover the ingenious “no-sew tutu”.
I will search for the few resources I watched on this — I basically borrowed from a few.
I chose the ribbon tulle for convenience and cut varying lengths. The tulle is simply tied on to the ribbon or waist band fabric of your choice by folding the length in half and knotting it over or under the waist tie. It took a lot. I am sure I used at least 5 spools of this. *Warning! The glittery ones will fill your house with glitter and may cause a ruckus! You can read by fb post on this
… called The Glitter Incident of 2015 🙂


THE FAIRY WINGS
I watched a few videos to learn how to do make these, and combined a few methods.
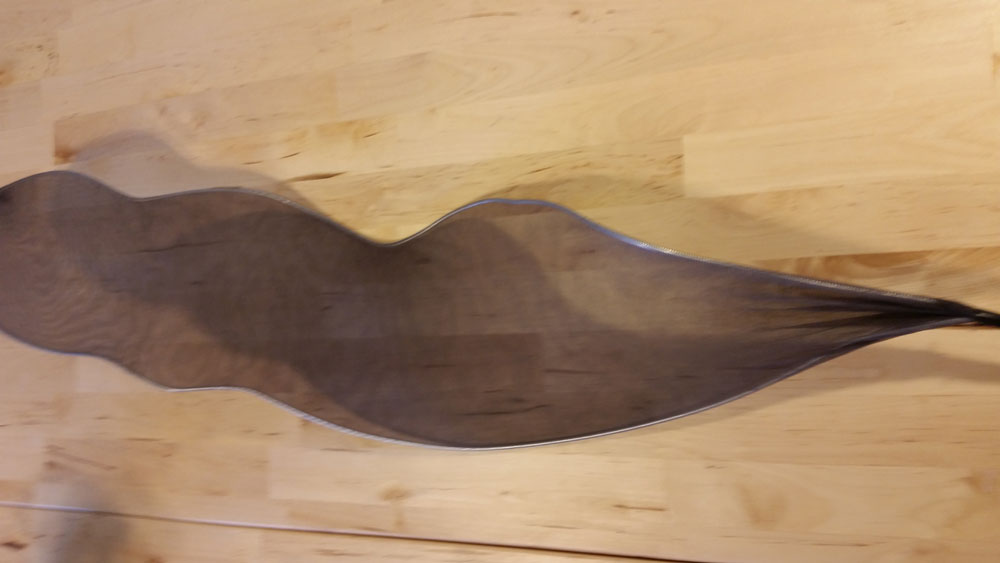
I used 14 gauge wire purchased at Home Depot, ( I could not find 12gauge anywhere). The stockings are a Queen size Sheer full panty hose with the legs cut off. Despite valiant efforts the knee highs would not stretch this far! Also used some glow in the dark fabric paint, glitter fabric paint and glitter glue. Electrical tape, satin ribbon and silk flowers.

Bend two wires at a time to match length and shape. BIG wire snips make cutting easy 🙂

Twist ends of wire together, stretch stockings over and, pull snug and bind off with electrical tape. My wings tended to curve a bit. I think 12gauge wire would have been ideal.

Detail added with silver glitter fabric paint on one side and sparkly glitter glue on the pack side of the wings. Not sure which I liked more…both are cool.

As was suggested in other tutorials, I burned out small holes with an incense stick. The loop on the back and the back join is covered in satin ribbon that is hot glued into place. Previously I had satin ribbons as shoulder straps (but wanted clear elastic). The wings kept falling (tilting). This back loop/brace made all the difference and no shoulder straps are needed.

I played with the wing placement a lot and finally decided on 3 per side. More would have been fun 🙂 Final touches = silk flower cluster and ribbons trailing down.


I would love to hear any feedback or questions from you! Wishing you a great year and great fun with your Inspired Ideas!
Resources:
FELTING SUPPLIES & INSTRUCTION – Visit us @ LIVING FELT
COVER A BRA – I looked at belly dance sites:
Shira and Shushanna were great help and inspiration
FAIRY WINGS VIDS – the two I watched over and over were:
Freckles Fairy Chest and Emilie Autumn on HGTV
There are tons of no sew tutu videos on youtube, I watched two and cannot track them down…but will keep looking. It is easy, surely any of those videos out there will help you. Have fun, and it you make a fairy costume or a nuno felt bra, I’d love to see it! 🙂